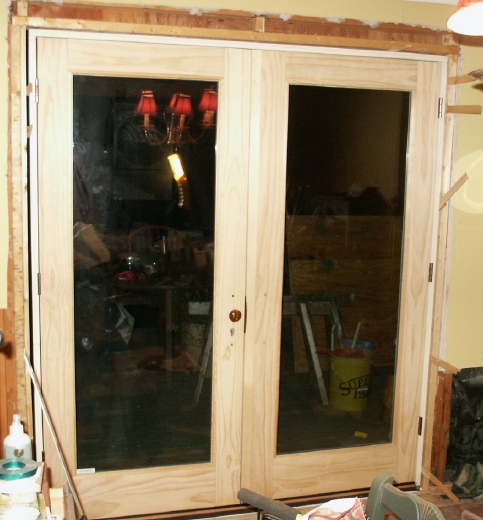
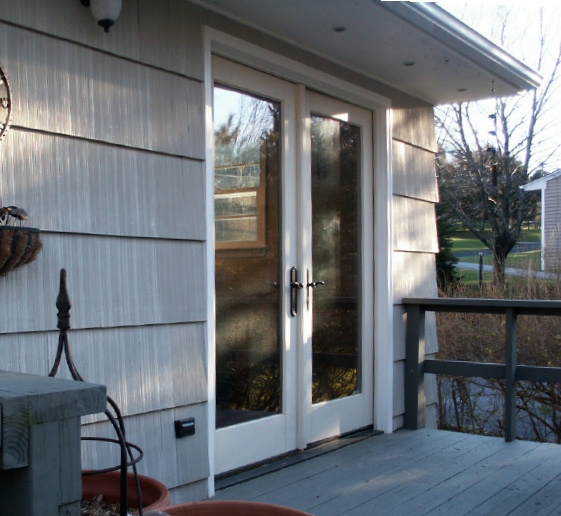
 Oct 6th - The new French Doors, from the inside. This was the first installation - we later realized that the door was set too far to the outside edge, and had to move it about 3/8" towards the inside. No small task.
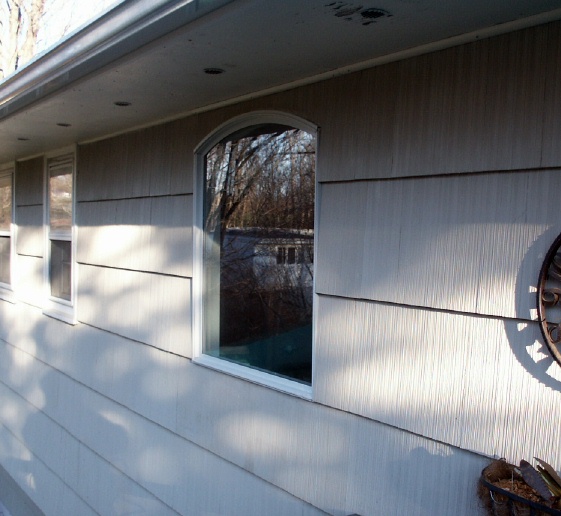
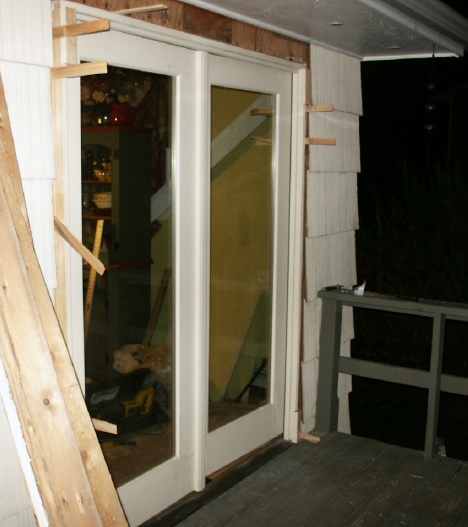 Outside view. It looks better than this now, Sharon added the trim (brick molding)
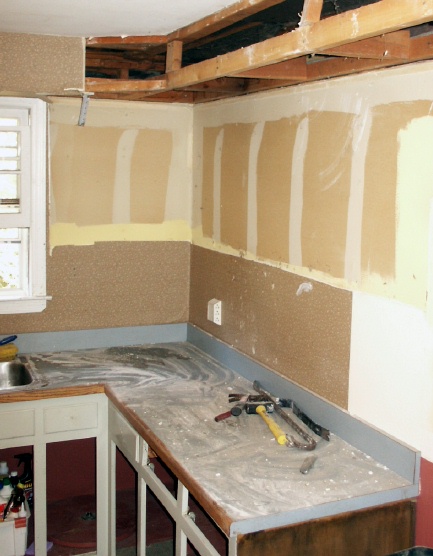
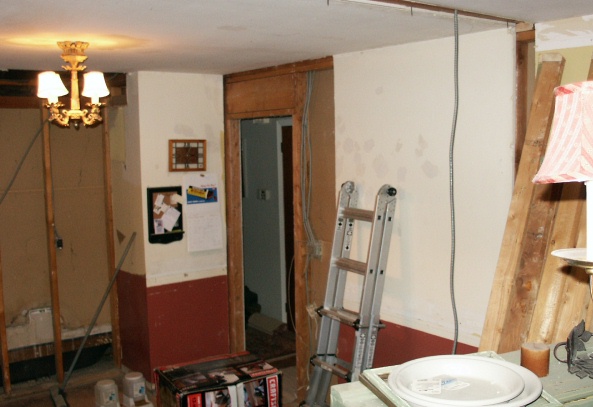
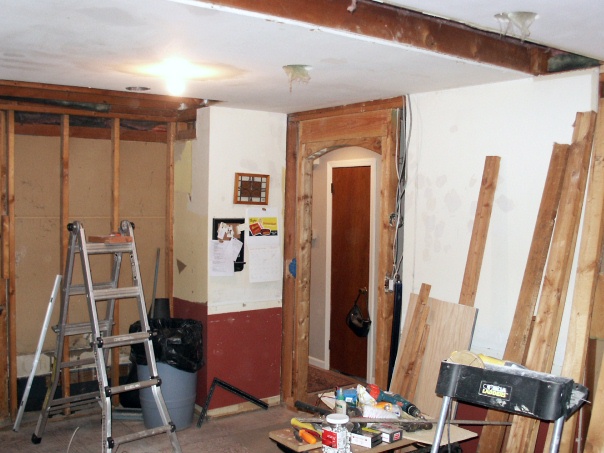
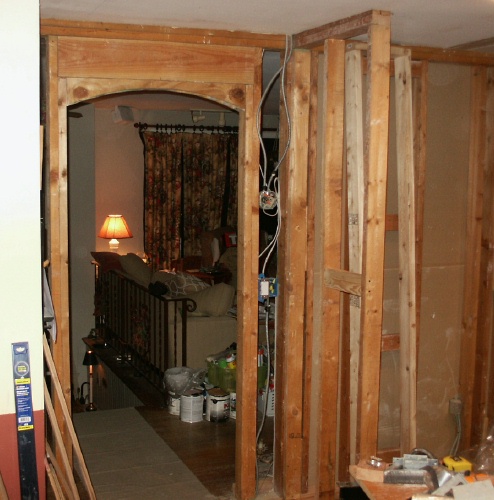
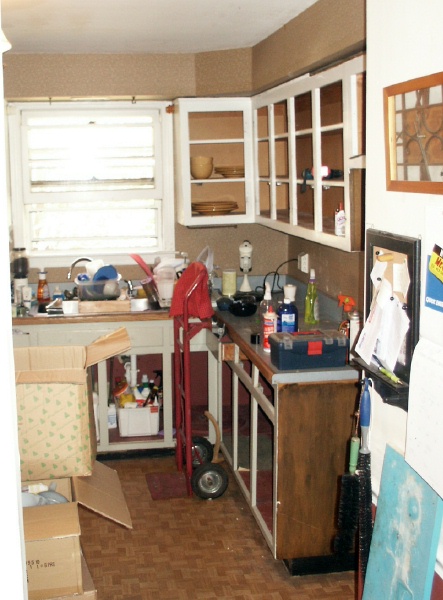 Oct 14th - In progress. Most of what used to be the kitchen is still visible in these three photos. First, what you can see from the hallway.
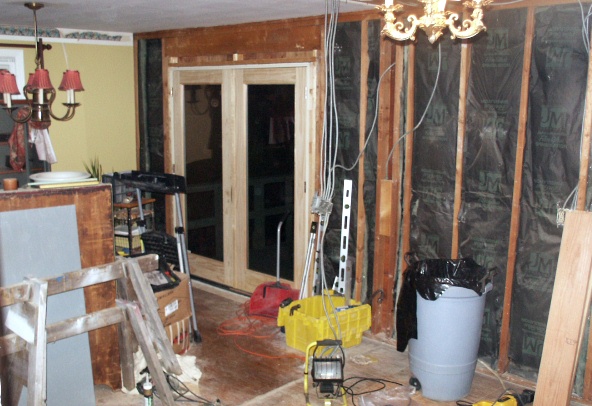
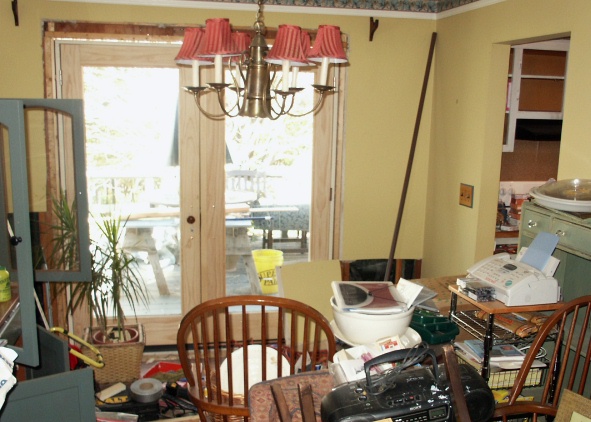 Across the dining room, daytime photo of the French Doors, kitchen through the door to the right. That wall between the dining room and kitchen was taken down.
 The upper cabinets were taken down, the soffit area above is being gutted. We'll need some sheetrock to cover the bottom of the ceiling rafters, since this original construction didn't cover that part. Also, quite a bit of the wiring conduit was routed through the soffit, so that will have to be built into the walls, floors, or ceilings.
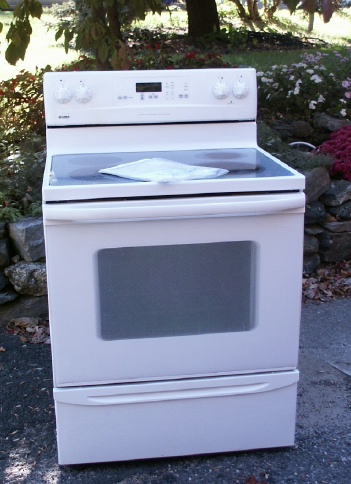 We had this range to get rid of, since we've bought a replacement cook top (propane, yay!), a wall oven, plus a warming drawer. We posted this on "freecycle" (some places called freeBay), and it was picked up the next day. Yeah, free. But things are claimed within hours. We put out wood-burning stove out one afternoon at 3:30pm, and it was picked up before 9pm.
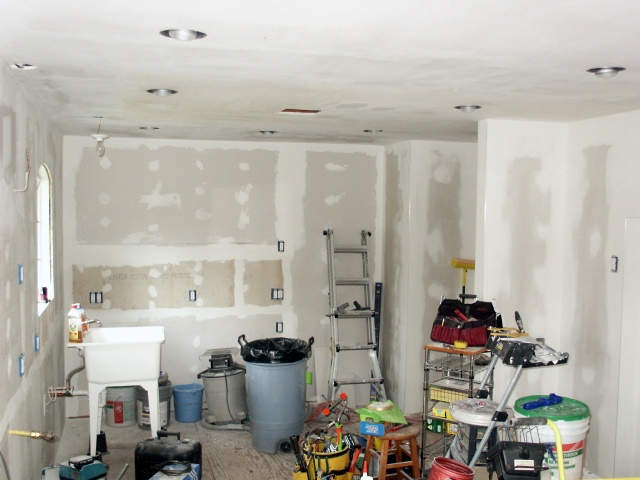
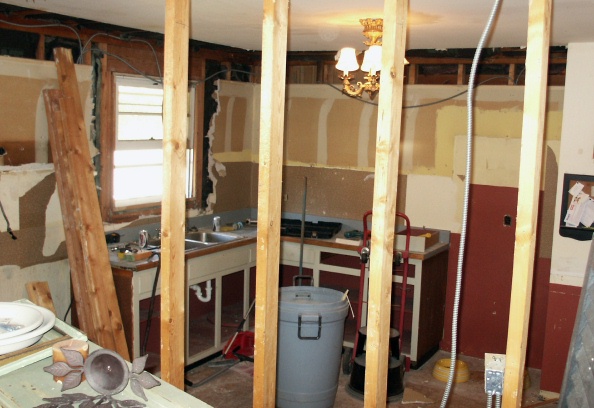 Oct 15th - More in process. I shot this after the sheetrock was off the wall between the rooms, kinda interesting to see how much more open it all looks.
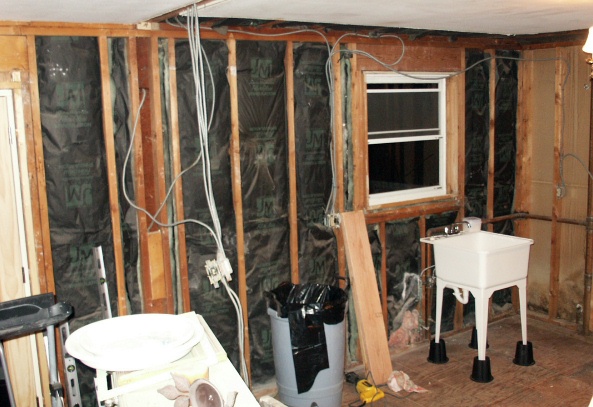
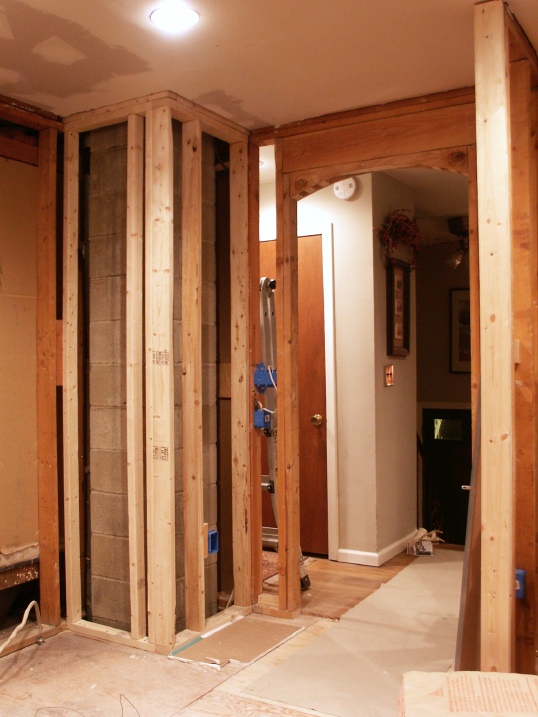
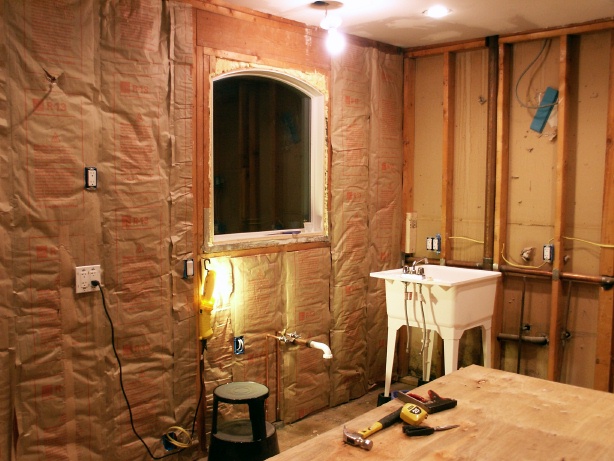
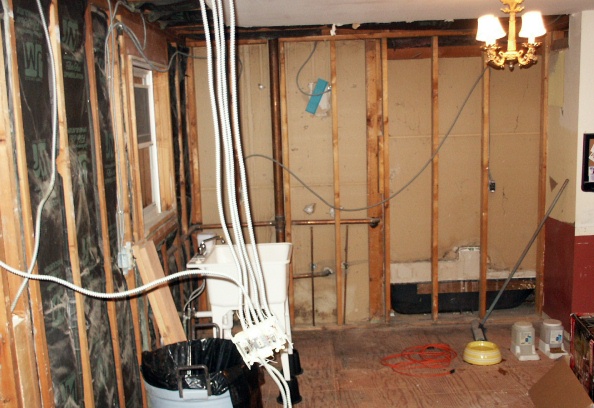 Oct 19th - all walls exposed, floor cleared down to the sub-floor, temporary utility sink installed. This view's from just inside the French Doors.
 Same vantage point, looking toward the hallway.
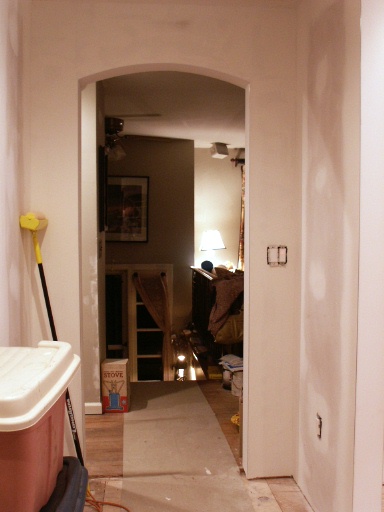
 From the dining room to living room arch.
 Reverse of two photos ago.
 Dec 2nd - A whole lot has been done, not all visible... like up in the attic, and work on the electricals.
Kitchen window complete from outside.
 Patio Doors, complete from outside, new deck power outlet.
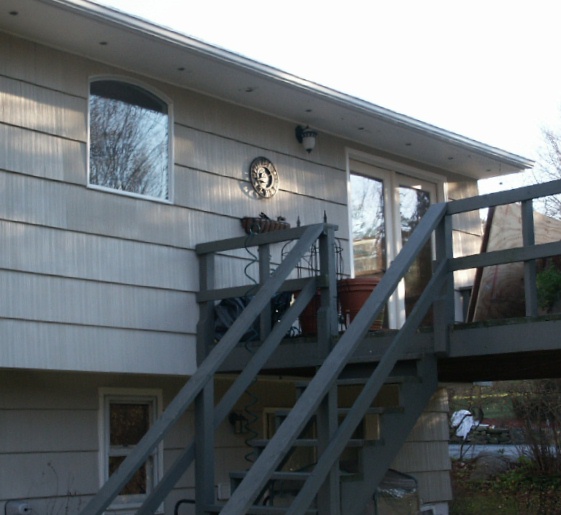 View from down on the back lawn.
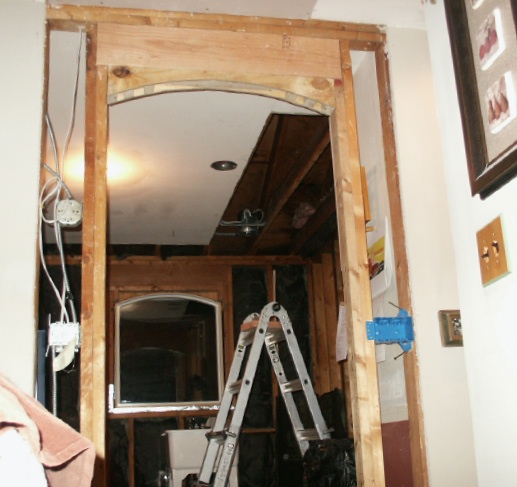 New kitchen-hallway door arch, from the steps towards the kitchen window.
 General area shot.
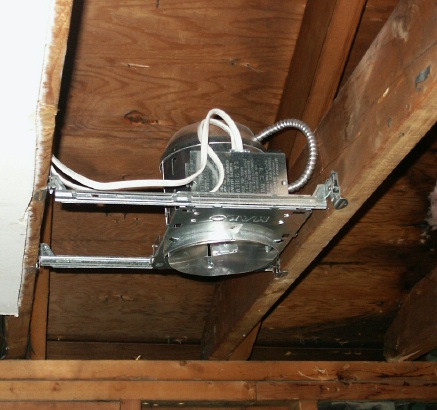 One of a dozen or so 'Halo' recessed lighting fixtures, during installation.
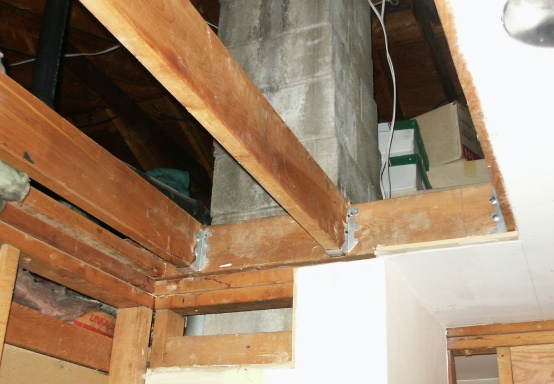 Frame reconstruction - looking into the attic. This part was never right - the ceiling joists had been balanced on the frame wall around the chimney. Both had twisted and checked badly. I've made it right now.
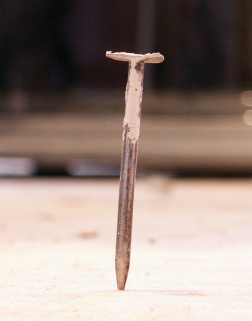 Every now and then something very curious happens. I was pulling old nails out of the sheetrock in the ceiling, and one of them landed nose-first into the plywood floor - and stuck there! I decided to take its picture to remember the event.
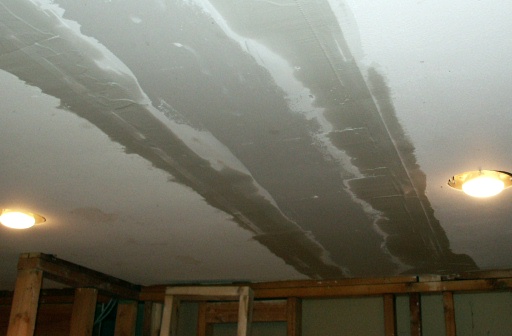
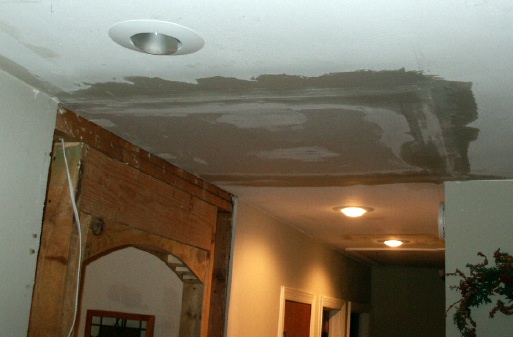 Dec 17th - Sheetrock taping work - hallway, covering the location of the old ceiling fan.
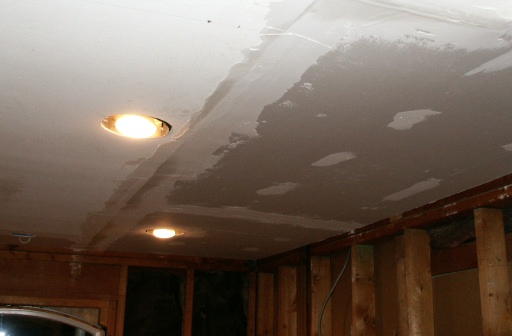 More taping work... how much would you like to see?
These two photos show areas that were mainly exposed when we tore out the soffit over the old cabinets.
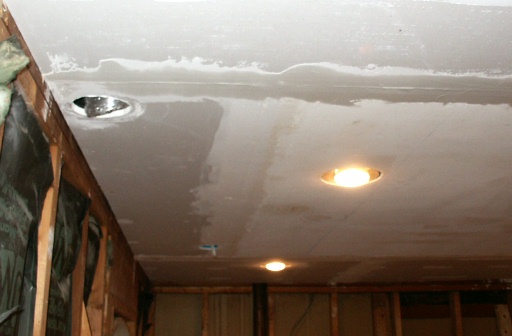 Foreground, a hole with a hose where the cook top hood will vent. Background, two new recessed lights and a box for a future lighting fixture over the sink.
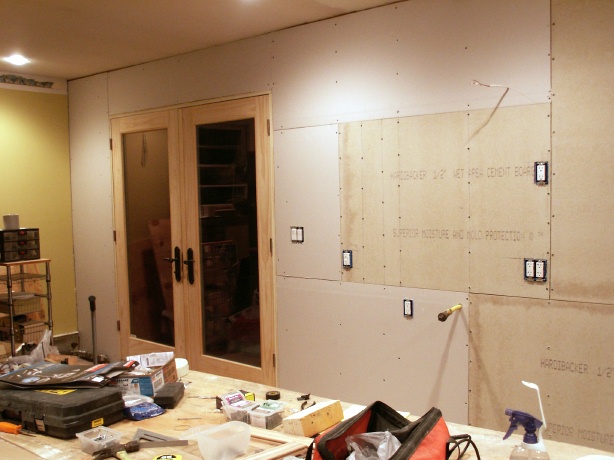
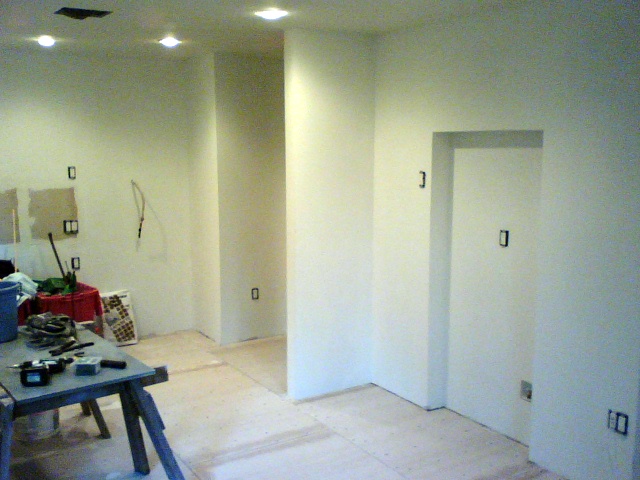
 This taping work involves closing out the space where the old wall (between the kitchen and dining room) stood.
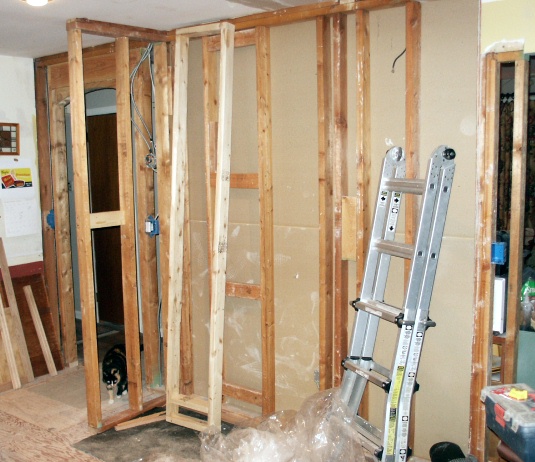 New wall framing going in.
Abby's inspecting the new short wall near the hall door. The leaning frame that's not attached is sized to fit the cabinet that it will support.
We decided we needed a little more wall and a little less of an opening between the living room and kitchen/dining area, so we framed into the archway. Room for a switch too.
The subfloor is being replaced in several places, too.
 Doorway from next to sink, looking toward living room.
Another view of the new short wall, too.
 Jan 20th - Frame wall around the chimney wasn't straight, nor the right size. This is the rebuilt one.
 Feb 1st - Time out for the spectators... Abby
 and JoJo, also called "Squish"
 Feb 8th - Not a pet, but a predator. A hawk watching from a nearby tree. Didn't offer to help in exchange for fresh meat, even!
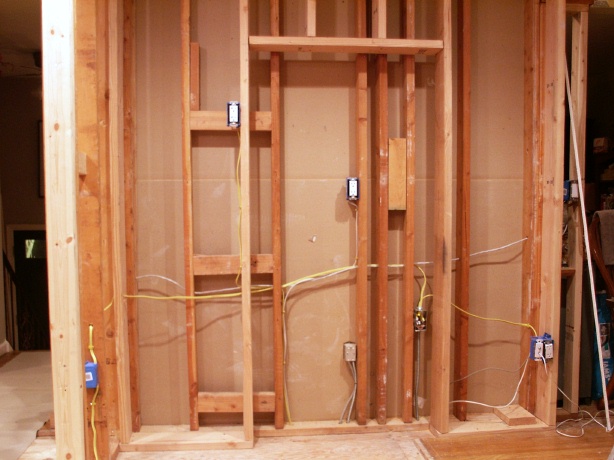
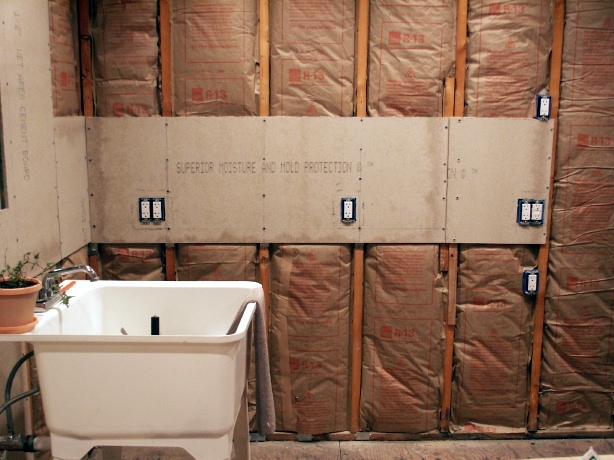
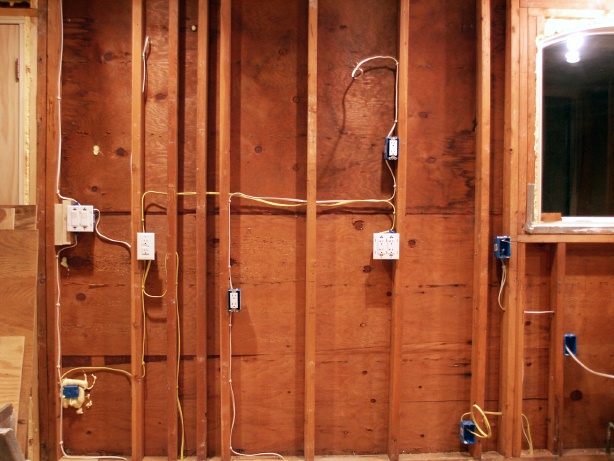 Feb 18th - These pictures (only a sample here) were taken to document the internal components of the walls, prior to the installation of insulation and sheetrock (or HardiBacker board). If I ever have to get to something inside there, I'll know where it is.
This one's the outer wall, where the cooktop, range hood, dishwasher will be installed. We later added a propane line, so I took another picture.
 This wall will support the cabinets, one with a microwave on the left, and a computer/phone rig on the right. The central section is for the refridgerator, with power and the ice-maker water supply.
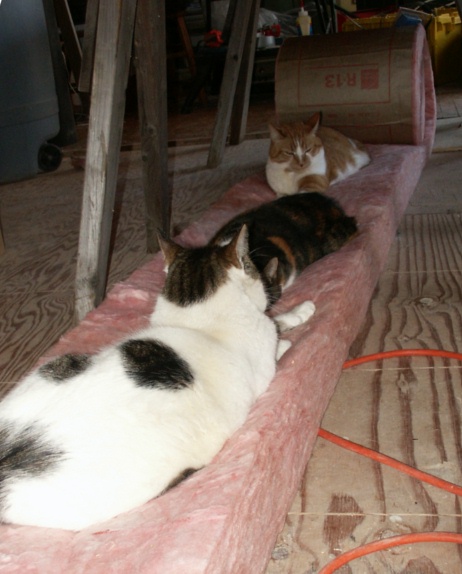 Feb 19th - Something about fiberglass insulation is pleasing to cats. Don't try this at home.
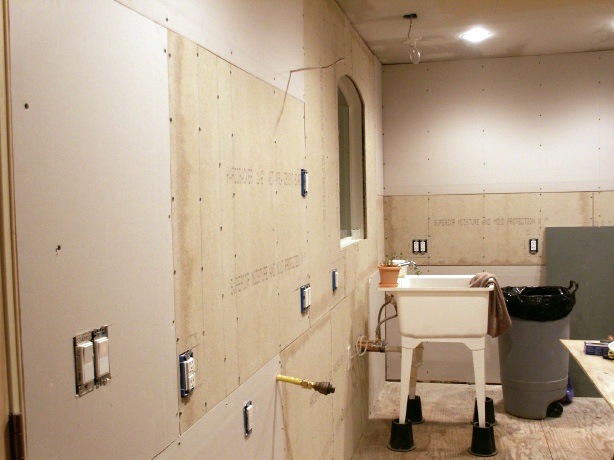
 Here we've installed the fiberglass batting into the external wall. This shows the temporary sink when it's disconnected. I'm glad Sharon thought to buy that - it's come in very handy, many times.
 Feb 24th - This shows the installation of 1/2" HardiBacker (concrete) board, which is very strong and water/mildew resistant. It's installed behind all the surfaces that will have tile on them, plus behind the sink and dishwasher.
 Feb 25th - The wall facing the bathroom got a layer of batting, too.
 ... then a layer of 'backer board' was put up for the back-splash tile.
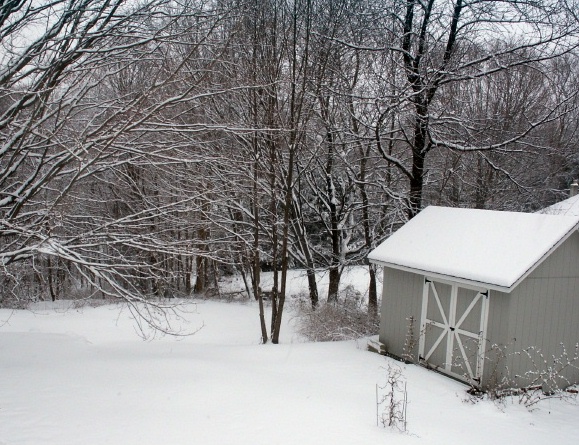 Feb 26th - Oh, look outside. It snowed. We remind ourselves that it's still very much wintertime out there.
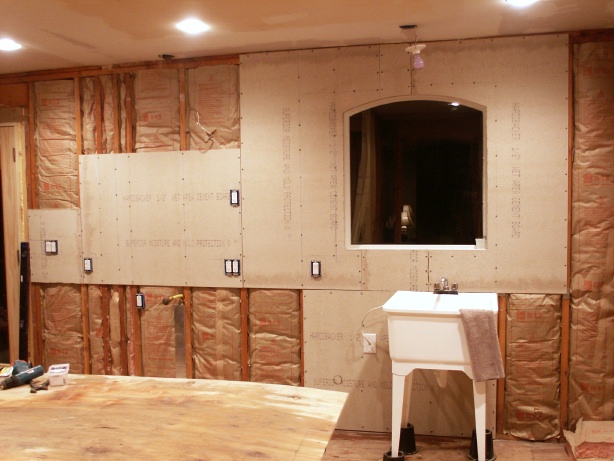
 Mar 1st - Most all of the sheetrock is up. The yellow pipe is the propane supply line for the new cooktop.
 From next to the sink, looking out through the arched hallway door. Refrigerator recess on the right.
 The view towards the French Doors.
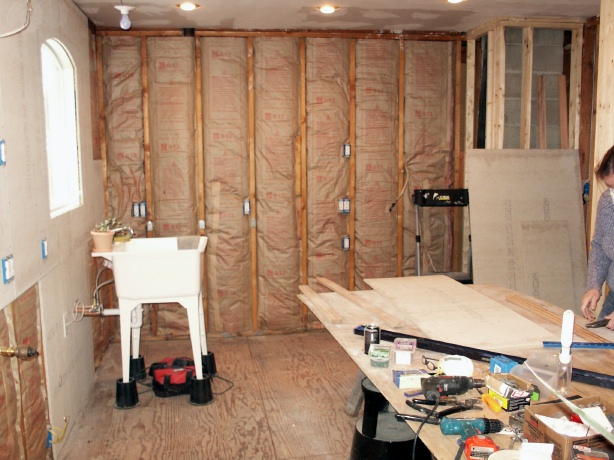
 Apr 25th - Here we have touched up all the existing walls where needed, and begun to apply a layer of primer paint. Also you can see evidence of the air conditioning installation, two supply air registers installed in the ceiling.
 Opposite direction, the sheetrock is almost ready to primer-paint.
 Apr 27th - Arched door to hallway.
 Jun 7th - Big changes getting to this point. The flooring has been re-worked, with a lot of fresh 1/2" plywood, a layer of 1/4" plywood, plus a complete layer of 1/4" Hardi-Backer board (with a layer of ThinSet mortar underneath). It takes about 60 screws to fasten down each of the 3' by 5' sheets. The seams get sealed with fiberglass tape and additional ThinSet.
The old water baseboard heating unit was removed from the wall before the flooring was completed.
 Viewed to the opposite direction. Still a lot of seams left to tape.
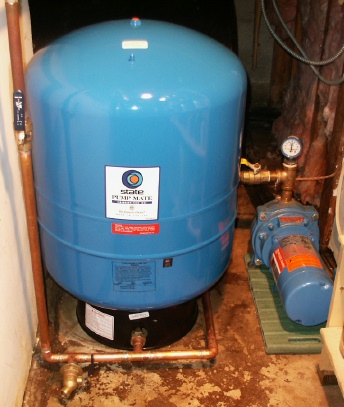 October 2007 - A minor distraction. The previous pressure tank (big blue thing) developed a pin-hole leak, and had to be replaced. This required re-routing some of the pipes. I also replaced several valves and fittings, and sealed a slow leak at the pump's pressure-gauge fitting. All is newer, and much better!
 Cabinet progress. This set of two tall pantries and overhead cabinet surround the refridgerator. Just needs a few more spacers, the side panel (clamped on, foreground), and crown molding across the top.
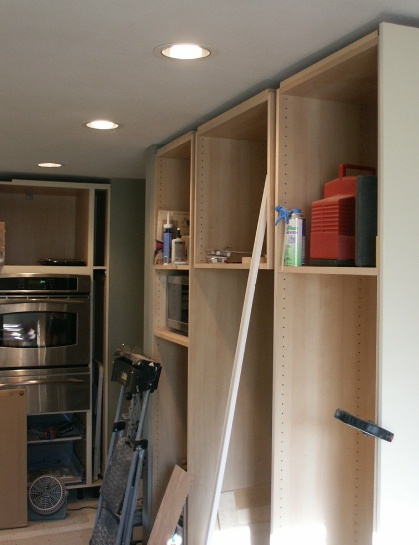
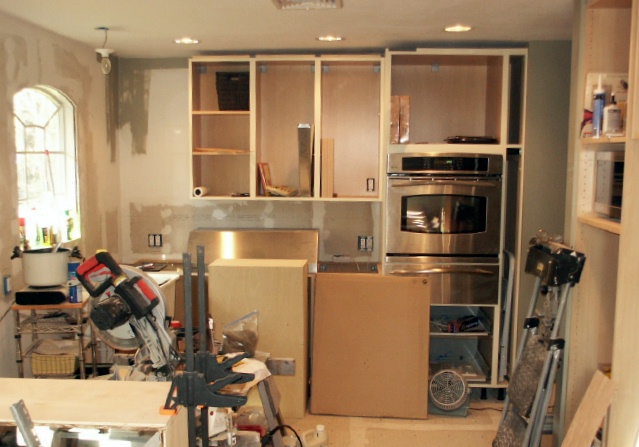 This shows the general area, mostly the progress across the "oven" wall. The oven is installed, along with the warming drawer. Three lower and three upper cabinets are installed.
The range hood is temporarily laid across the cabinet tops pending installation over the cooktop cabinet.
On the floor in front of the range hood is a custom-built cabinet that fits the upper-left space (left, facing away), plus an IKEA cardboard package containing the sink cabinet. No drawers or cabinet doors yet.
In the left foreground is a clamped cabinet under construction, and the miter saw.
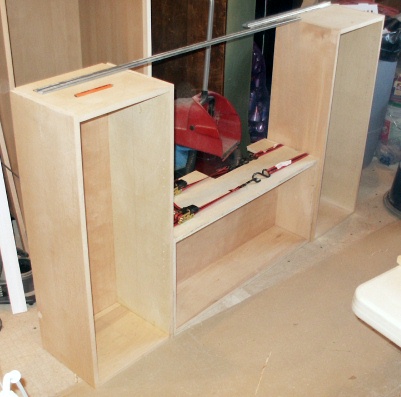
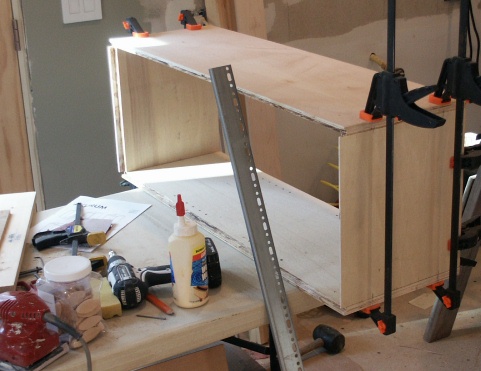 Tools, and what you can build with them. Here's a cabinet being glued together... not all cabinets came from IKEA, some had to be custom built. This is one that goes above the cooktop area. On the work surface: Power sander, screwdriver/drill, glue, joiner biscuits, paper and pencil. Takes a few good saws to get here too!
The metal rail that's leaning on the table is used to mount the cabinets on the wall, part of IKEA's ingenious mounting system.
 Three cabinets, nearly finished. The center one (here held with tie-down clamps) actually mounts even with the tops of the two side cabinets, with the range hood underneath. It has a false back to cover the hood's vent ducting.